

Winner Strip
hector
    Sign InBook a Demo
    Footer background

    Scale Profitably with Hector

    Book a Demo
    ISO 27001:2022 Certified
    SOC Certified
    SOC Certified Type 2
    Partner AwardsPartner Awards
    hector

    The Most Powerful Platform for Amazon Ads Optimisation

    • Hector Ai Global Inc
    • 8 The Green, STE B, Dover, Kent
      Delaware, 19901
    • Hector Ai - APAC
    • Pinnacle Corporate Park, BKC,
      Bandra East, Mumbai 400098

    Copyright © 2026 Hector. All rights reserved.

    How to Log In and Navigate the Flipkart Ads Manager Dashboard

    • Amazon
    How to Log In and Navigate the Flipkart Ads Manager Dashboard
    October 14, 2026


    TL;DR

    • Flipkart Ads Manager is available inside Flipkart Seller Hub at seller.flipkart.com.

    • After logging in, go to the left navigation panel and click Ads, which may appear under Marketing or Advertising depending on your account type.

    • You can also access the standalone ads portal at advertising.flipkart.com using your Flipkart seller credentials.

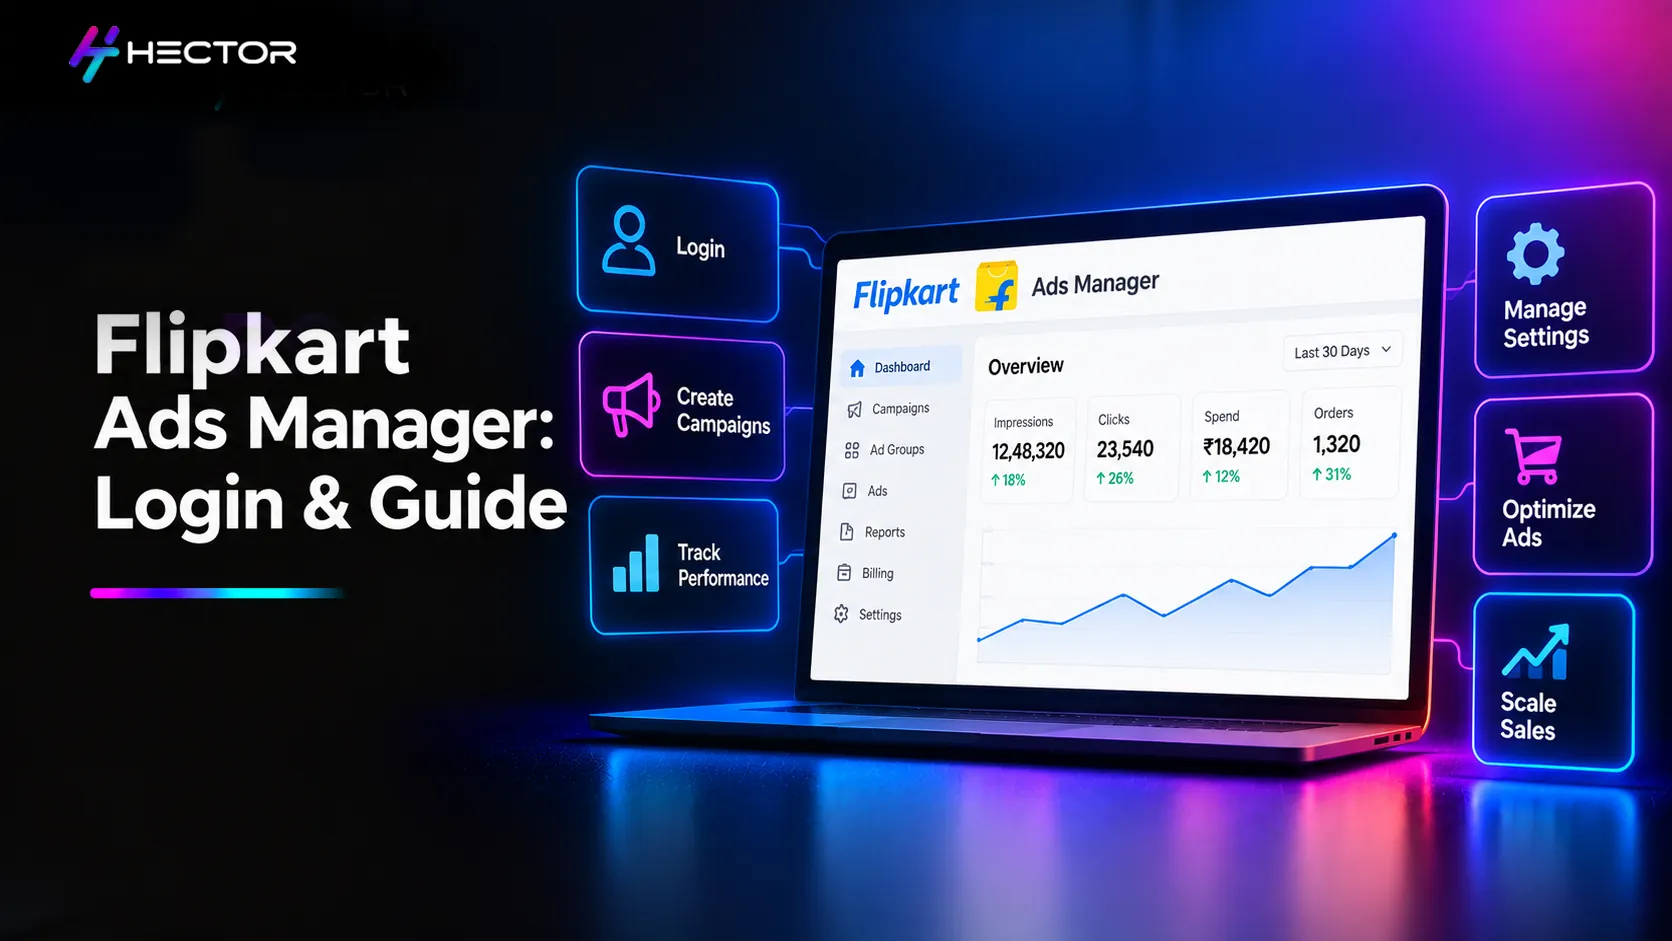
    • The dashboard includes campaign lists, performance overview, reports, and budget and billing sections.

    • The performance overview shows key metrics such as impressions, clicks, spend, and ROAS.

    • The reports section lets you download campaign and performance data.

    • OTP verification is required during login, so keep your registered mobile number handy.

    • After logging in, check active campaigns for budget exhaustion and review the last 7 days of performance before making changes.


    You have live product listings on Flipkart. Your inventory is ready. Your prices are competitive. But when you open the app on your phone and search for your own product, you have to scroll through three screens before you find it. Meanwhile, every result above yours has a tiny grey label that reads "Sponsored."

    That is not a ranking problem. That is a visibility problem. And the tool that fixes it, Flipkart Ads Manager, is already sitting in your seller account right now, waiting to be found.

    Most sellers who are not advertising on Flipkart yet are not avoiding it because it is complicated. They are avoiding it because they have never been shown where the dashboard actually is. This guide fixes that. Step by step, from login to navigation, so you can find the ads panel, understand what each section does, and be ready to run your first campaign.


    Sellers who understand where their advertising tools are and what each section of the dashboard does are the ones who make better spending decisions. The dashboard is not the strategy, but you cannot build a strategy without first knowing where to look.

    -- Meher Patel, Founder & CEO of Hector AI, Amazon Ads Top 20 Global Partner


    Why the Flipkart Ads Dashboard Matters for Every Seller

    Imagine a grocery store where the shelves closest to the checkout lane are available to any brand that pays a small premium to place their products there. Shoppers walking to pay are most likely to grab something from that lane. The brands that pay for that placement capture the majority of last-minute purchases. The ones that don't are on aisle 7.

    Flipkart's search results work on a similar principle. The products that appear first, and most often, are increasingly the ones running ads. This is not a loophole or a shortcut. It is how the platform allocates premium visibility.

    70%+

    of Flipkart's first-page results in competitive categories are now paid placements

    globalwebsters.com, Flipkart Advertising Guide 2026, July 2026


    If your product is not advertising, it is competing against both organic results and paid placements for the remaining slots. In busy categories like electronics, fashion, and beauty, the remaining organic slots are few. The ads dashboard lets you control where your product shows up.

    The Two Ways to Access Flipkart Ads Manager

    Path 1: Through Your Seller Hub (Recommended for Most Sellers)

    The most straightforward route is through the Flipkart Seller Hub. This is the main control panel for your Flipkart seller account, where you manage everything: orders, listings, inventory, payments, and advertising. The ads section is built right into it.

    The URL is seller.flipkart.com. You do not need a separate account, login, or registration. If you already sell on Flipkart, your seller credentials are your ad credentials: the same email, the same password, the same account.

    Path 2: The Direct Ads Portal at advertising.flipkart.com

    Flipkart also has a standalone advertising portal at advertising.flipkart.com. This is where brand advertisers and agencies often access campaigns. It uses the same Flipkart credentials as your Seller Hub.

    For most individual sellers and small businesses, the Seller Hub path is easier because it keeps everything in one place. The direct portal is worth knowing about if you ever need to manage campaigns outside the Seller Hub environment, for example, if your agency is managing your account.

    Step-by-Step Login Walkthrough

    Step 1: Go to seller.flipkart.com

    Open a browser on your computer or mobile and type in seller.flipkart.com. The Flipkart Seller Hub login screen will appear.

    Tip: Use a browser rather than the Flipkart seller app for the ads dashboard; the app has limited ads functionality compared to the desktop version.


    Step 2: Enter Your Credentials

    On the login screen, enter your registered mobile number or email address and your password. These are the same credentials you use to manage your listings and orders.

    Tip: If you have forgotten your password, click 'Forgot Password', and Flipkart will send a reset link to your registered email or OTP to your mobile.


    Step 3: Complete OTP Verification

    Flipkart will send a One-Time Password (OTP) to your registered mobile number. Enter it on the verification screen to complete the login.

    Think of this like the security gate at an airport. Your boarding pass (password) gets you to the gate. The ID check (OTP) is the final confirmation before you step on board. It is an extra layer of protection that ensures only you can access your account.

    Tip: Make sure your registered mobile number is active and with you before logging in. If you have changed your SIM or number, update it in your account settings first.


    Step 4: Locate the Ads Section

    Once inside the Seller Hub, look at the left-hand navigation panel. You will see a list of sections: Orders, Catalogue, Inventory, Payments, and so on.

    Look for 'Ads' or 'Advertising' in this list. Depending on your account type, it may appear directly in the menu or sit under a 'Marketing' or 'Growth' section. Click it to open the ads dashboard.

    If you do not see an Ads section, your account may not yet have advertising enabled. Contact the Flipkart seller support to activate advertising for your account.

    Tip: The navigation labels can vary slightly between account types (individual seller, brand, or enterprise). If you do not see 'Ads', scroll down the left panel or look for 'Marketing'.


    What You See Inside the Flipkart Ads Dashboard

    The first time you open the Flipkart Ads dashboard, it can feel like stepping into a control room. Lots of sections, lots of numbers, and not an obvious place to start. This breakdown explains what each area is and how to use it.

    The Campaign List View

    This is your home base. The campaign list shows all the ad campaigns you have created, active, paused, and completed. Each row shows the campaign name, the current status, and summary metrics like impressions, clicks, and spend.

    If you are new, this screen will be empty until you create your first campaign. That is normal. The 'Create Campaign' button is at the top right of this screen.

    Campaign Performance Overview

    When you click into any campaign, you see its performance overview. This shows you how many times your ad was shown (impressions), how many times someone clicked it (clicks), how much you spent, and your return on ad spend (ROAS).

    The overview also breaks down performance by individual product, so if you have 10 products in one campaign, you can see which are generating clicks and which are not. This is where most of your weekly optimisation decisions come from.

    Reports and Analytics

    The Reports section lets you download detailed performance data across any date range. You can filter by campaign, product, keyword, or placement. The downloaded file is a spreadsheet you can open in Excel or Google Sheets.

    This section matters most when you want to analyse trends over time, comparing this month to last month, or reviewing performance before and after a bid change. The in-dashboard numbers give you a snapshot; the reports section gives you the full picture.

    Budget and Billing

    The Budget and Billing section shows your current account balance, your recent spend history, and options to top up your advertising wallet. Flipkart Ads runs on a prepaid model; you load money into your advertising wallet, and campaigns draw from it as clicks occur.

    If your account balance drops to zero, your campaigns stop running automatically. The Budget and Billing section is where you top up. There is no monthly minimum or fixed commitment; you set your spending limit, and your ads run until the balance is used.


    Dashboard Section

    What It Is

    When to Use It

    Campaign List

    All your campaigns with status and headline metrics

    Every session, your starting point

    Campaign Performance

    Impressions, clicks, spend, ROAS by campaign and product

    Weekly review and optimisation decisions

    Reports and Analytics

    Detailed downloadable data by date range

    Monthly analysis, trend review, before/after comparison

    Budget and Billing

    Account balance, top-up, spend history

    When the balance is low, or to review the total spend


    Common Login and Access Errors, and How to Fix Them

    If you cannot log in or find the Ads section, try these fixes first

    OTP not arriving: Check that the mobile number on your Flipkart seller account is correct and active. The OTP goes to the number registered to your seller account, not necessarily the number on your phone right now. If the number has changed, contact seller support to update it before logging in.

    Password rejected: Use the 'Forgot Password' link on the login page. Flipkart will send a reset link to your registered email address. If you no longer have access to that email, contact seller support with your seller ID to verify your identity.

    No Ads section visible: Advertising may not be activated on your account yet. Go to seller.flipkart.com, navigate to your account settings, and look for an 'Advertise Now' or 'Activate Advertising' option. Alternatively, contact Flipkart seller support to enable the ads module.

    Account says 'not eligible' for ads: Flipkart requires active, compliant listings to run ads. If your listings have policy issues, catalogue score problems, or zero inventory, ad access may be restricted. Fix the flagged listings first, and eligibility will be restored.


    The First Thing to Do After Logging In

    Once you are inside the dashboard, resist the urge to click 'Create Campaign' immediately. Spend two minutes in the campaign list first, even if it is empty. Understanding the layout before adding campaigns ensures your first campaign is set up with the right structure from the start.

    If you already have campaigns running, check two things before anything else:


    • Budget status: Are any campaigns showing as paused due to a zero balance? Top up the wallet in the Budget and Billing section before doing any analysis, because a campaign that ran out of budget mid-week has an incomplete data set for that period.

    • Performance overview for the past 7 days: Look at which campaigns are generating clicks and which are spending without generating orders. This 60-second check tells you where to direct your immediate attention before you touch any settings.

    If you are running ads across both Flipkart and other platforms like Amazon Sponsored Ads or Meesho, this is also the point where a consolidated view helps. Platforms like Hector Ai aggregate advertising performance across multiple marketplaces into a single dashboard, so you can view Flipkart, Amazon, and other channels without toggling between separate logins, For the Amazon side of your business, Hector also offers Amazon Ads Optimization with rule-based automation for bids, budgets, and keyword harvesting.


    Frequently Asked Question

    Go to seller.flipkart.com and log in with your registered mobile number or email address and your seller account password. Complete OTP verification when prompted. Once inside the Seller Hub, click on 'Ads' or 'Advertising' in the left navigation panel. You can also access the ads platform directly at advertising.flipkart.com using the same credentials.

    Advertising may not yet be activated on your account. Try navigating to your account settings and looking for an 'Advertise Now' or 'Activate Advertising' option. Alternatively, contact Flipkart seller support with your seller ID. Ad access also requires active listings; if your listings have compliance issues or zero inventory, advertising eligibility may be restricted until those are resolved.

    The Flipkart Ads portal is accessible at two places: inside your Seller Hub at seller.flipkart.com (look for 'Ads' or 'Advertising' in the left-hand navigation menu), and directly at advertising.flipkart.com. Both use the same Flipkart seller credentials. No separate registration is required.

    No. Your existing Flipkart seller account credentials are the same credentials you use for the Ads Manager. There is no separate sign-up or registration required. Log in at seller.flipkart.com with your seller email and password, complete OTP verification, and access the Ads section from the left navigation.

    CPC (Cost Per Click) campaigns let you set your own bids and daily budget. You pay each time a shopper clicks your sponsored listing. SmartROI campaigns let Flipkart's algorithm automatically adjust bids to optimise for your target return on ad spend. CPC gives you more manual control; SmartROI trades control for automation. Most beginners start with CPC to understand how the platform works, then switch to SmartROI.

    About the Author

    Meher Patel is the Founder & CEO of Hector Ai. He specializes in Amazon Ads, Amazon DSP, Amazon Marketing Cloud (AMC), retail media, and agentic AI.

    Under his leadership, Hector is ranked among the Top 20 Amazon Ads partners globally, and has won the Amazon Ads Partner Award for Seasonal Sales Strategy (2025) and the Amazon Ads Innovation Award (2025). Today, Hector manages over $350 million in annual ad spend across 500+ brands and agencies worldwide.

    Meher Patel, Founder & CEO of Hector Ai

    Meher Patel

    Founder & CEO, Hector Ai

    Hector Ai
    Back to Blogs
    Share:

    Post Comments

    On this page

    • 1.Why the Flipkart Ads Dashboard Matters for Every Seller
    • 2.The Two Ways to Access Flipkart Ads Manager
    • ➤Path 1: Through Your Seller Hub (Recommended for Most Sellers)
    • ➤Path 2: The Direct Ads Portal at advertising.flipkart.com
    • 3.Step-by-Step Login Walkthrough
    • 4.What You See Inside the Flipkart Ads Dashboard
    • ➤The Campaign List View
    • ➤Campaign Performance Overview
    • ➤Reports and Analytics
    • ➤Budget and Billing
    • 5.Common Login and Access Errors, and How to Fix Them
    • 6.The First Thing to Do After Logging In
    Book A Demo